Fitting it
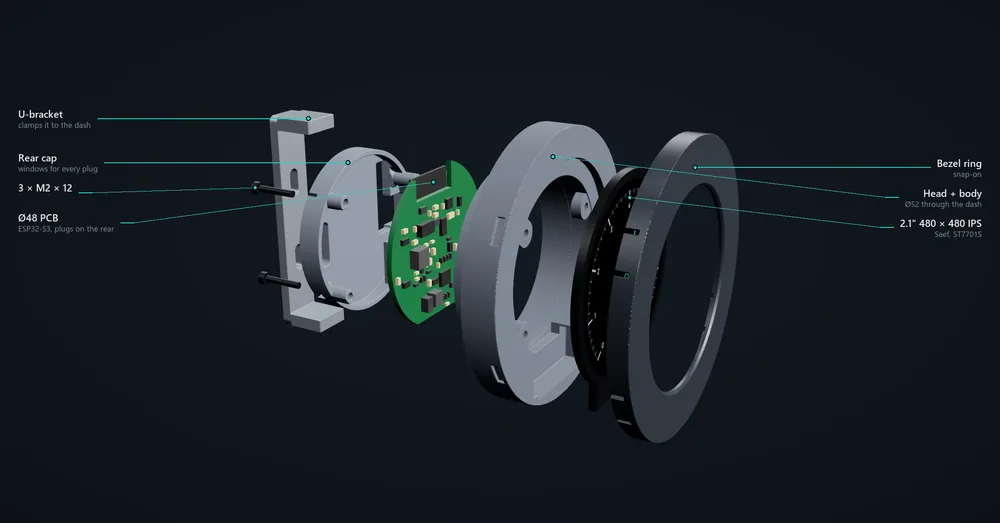
A standard 52 mm gauge with three plugs on the back. Most installs need power, ground and two CAN wires.
Mounting
The Ø51.8 mm body goes through a standard 52 mm gauge hole, and the U-bracket on the back clamps it to the panel. It fits A-pillar, vent and DIN pods made for 52 mm gauges, including our triple DIN mount.
The plugs
Three latching JST PA (2.0 mm) plugs on the rear, all taking the same crimps.
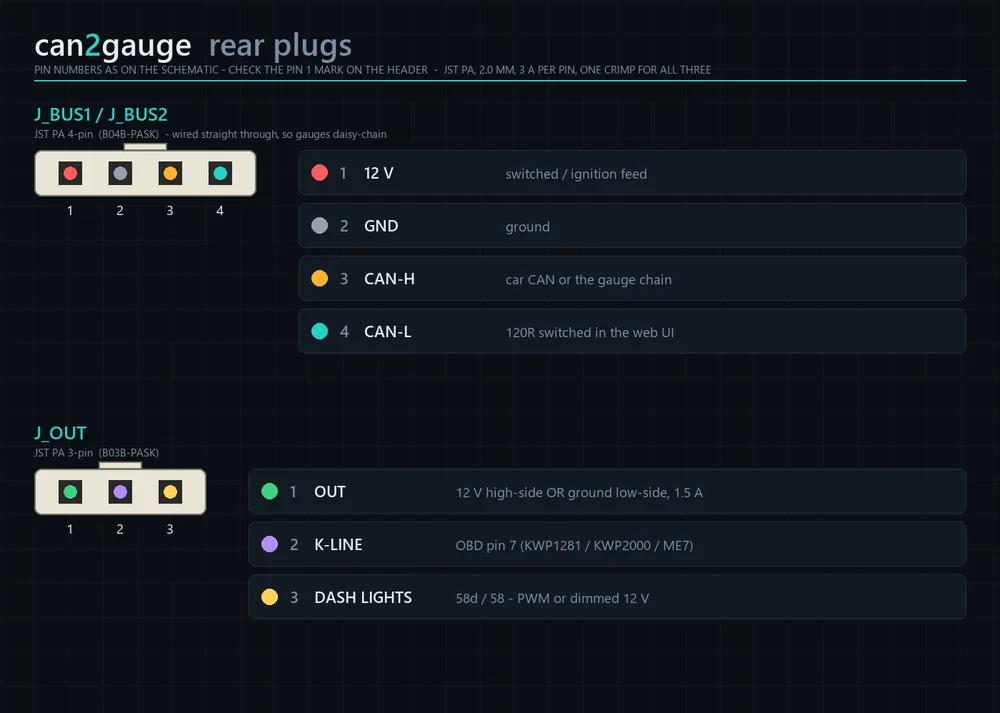
| Plug | Pin | Signal | Notes |
|---|---|---|---|
| J_BUS1 / J_BUS2 PA-4 | 1 | 12 V | Switched / ignition feed, or permanent (see below) |
| 2 | GND | ||
| 3 | CAN-H | The car’s CAN, or the gauge chain | |
| 4 | CAN-L | ||
| J_OUT PA-3 | 1 | OUT | 12 V high-side or ground low-side, set in the web UI |
| 2 | K-LINE | OBD pin 7 | |
| 3 | DASH LIGHTS | 58d (PWM or dimmed 12 V) or 58 |
The two bus plugs are wired straight through, so either one can take the car and the other can go on to the next gauge.
Wiring it in
Power
A switched 12 V feed is simplest. On a permanent feed, the gauge takes its ignition from CAN terminal 15 (VAG PQ and MQB, any bit you choose, or just bus traffic) or from the dash-light wire on an ignition feed. With the ignition off it plays a shutdown, goes dark and then deep-sleeps.
Asleep it still draws a few milliamps, because the CAN transceiver and regulators stay powered. Check the current before leaving one on a permanent feed for weeks.
CAN
CAN-H and CAN-L to the car’s bus: the OBD port’s pins 6 and 14, or the drivetrain CAN at the gateway for the most data. Switch the 120 Ω termination on only on the gauge at the end of a chain; it’s a setting, not a jumper.
K-line
OBD pin 7, for older VAG cars, the ME7 logger and fault codes. The tester pull-up is on the board.
Dash lights
The car’s dash-light feed (VAG 58d, PWM or dimmed 12 V, or the side lights on 58) drops the glass to the night brightness with the headlights. On a chain, only one gauge needs the wire.
The output
Up to 1.5 A, high-side or low-side, protected against shorts and overheating. In high-side mode the load current also passes through the gauge’s input fuse, so use a relay for anything big.
Bluetooth only
With an OBD dongle you need only power and ground. The gauge reads the car through the dongle.
Two or three gauges
Run the harness from the car to the first gauge’s J_BUS1, and from its J_BUS2 to the next. Turn termination on at the last gauge only. One gauge becomes the master and reads the car; the others follow. Gauges can also share over Wi-Fi with no chain wire.
First Boot
- Ignition onThe boot logo plays, then a new gauge asks: Set this gauge up from your phone? Tap Yes.
- Join its Wi-Fi
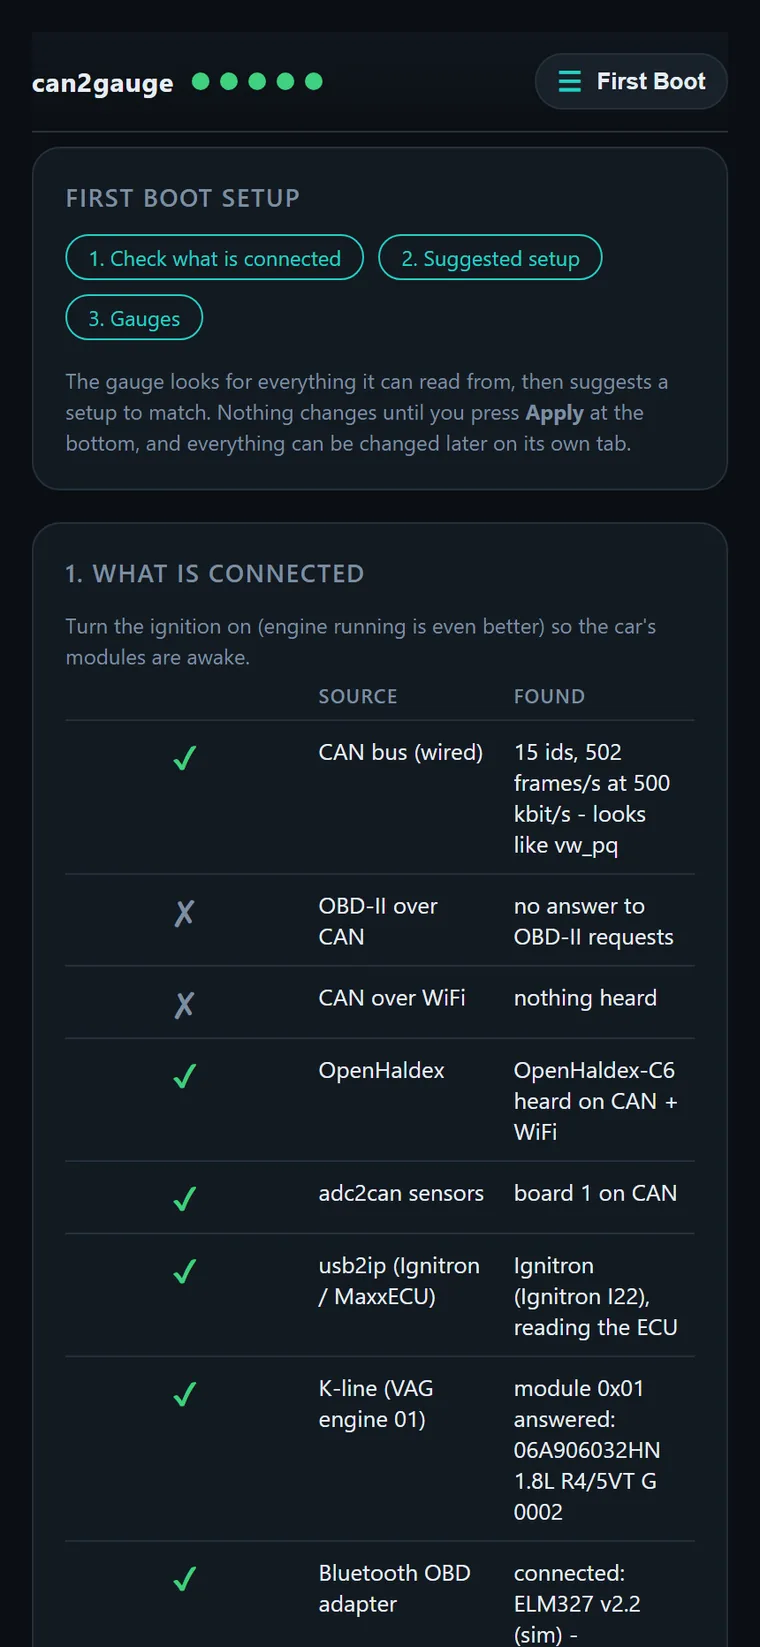
can2gauge-XXXX, then open192.168.1.1orc2g.local. - Let it lookFirst Boot ticks off what it finds: the CAN bus and which car, OBD-II, OpenHaldex, adc2can, usb2ip, the K-line, a Bluetooth or Wi-Fi adapter and other gauges, with live values.
- Check the suggestionsOne row per setting with the reason: the CAN profile and the car’s DBC, the OBD adapter, dimming, colours, the boot logo and the menu.
- Pick your pagesValues it saw live are ticked. Order them, then press Apply. Nothing changes until you do.